Organizing Family Photos: A Simple Checklist for Scanning and Labeling
Somewhere in your house there is a shoebox, a Ziploc bag, or an envelope with "Photos" written on it in marker. Inside are birthdays, a wedding, a vacation where everyone is squinting into the sun, and at least one picture of a person nobody can name anymore. Moving those pictures into a safe, searchable digital form doesn't require a free weekend or expensive equipment. It requires a sensible order of operations: sort first, scan second, name as you go, and back up before you file anything away. Here's the checklist that keeps the project from stalling halfway through.
Set Up a Sorting Station First
Clear a table and gather a few supplies: three shallow boxes or bins, sticky notes, a soft pencil, a notebook, and a trash bag for obvious duplicates and envelopes. Choose a spot with decent light and leave it set up for a few weeks. Half the battle with photo projects is that the dining table has to be reclaimed every night.
Label the boxes loosely: Scan, Store, Ask, and a smaller Damaged pile for anything torn, stuck together, or water-marked. Then sort in passes. First pass, split by household or decade. Second pass, put photos in rough chronological order inside each pile. Third pass, pull out anything that belongs in Ask — pictures of unfamiliar people, unlabeled weddings, group shots with a gap in the middle.
One firm rule: do not scan while you sort. Sorting and scanning use different parts of your attention, and mixing them turns an hour of progress into an afternoon of dithering.
Decide What Actually Needs to Be Scanned
Not everything does. A complete digital archive of every blurry sunset from 1987 will be harder to search than a smaller collection of pictures that matter. Scan anything that hits these marks:
- Faces you would want to find again, especially people who have died or moved far away
- Events with a date attached: weddings, graduations, first days of school, funerals, reunions
- Places that no longer look the same, or no longer exist
- Anything old, fragile, or unique — the only surviving copy
- Photos with writing on the back, because that handwriting is its own record
- Portraits and formal studio shots, which tend to be the most requested by relatives
Skip near-duplicates, blurry crowd shots, unidentified scenery, and mass-printed school or team photos if the same image already exists digitally. A workable test: if you would be genuinely upset to lose it and no one else has a copy, scan it.
Choose Your Scanning Method
Three practical options, depending on volume and quality:
- Phone scanning apps or a phone on a stand. Fastest for casual batches. Use soft, indirect daylight, photograph straight down, and avoid flash. Good enough for sharing, less ideal for archiving.
- A flatbed scanner. Best for small prints, fragile items, odd sizes, and scanning the backs of photos. Slower, but the most faithful copy.
- A batch scanner with a document feeder. Efficient if you have hundreds of similar-sized prints that are in good condition. Do not feed bent, curled, or torn originals.
Settings that won't come back to haunt you
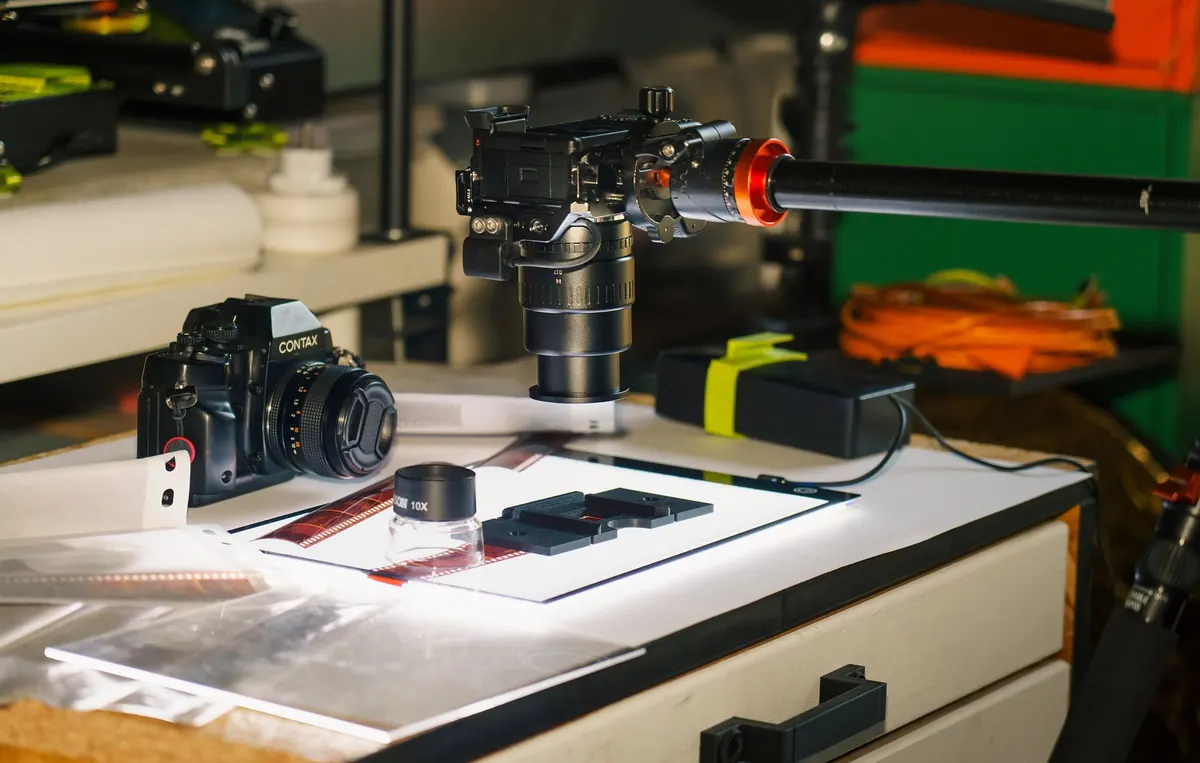
Scan prints at 300 dpi as a baseline, and go to 600 dpi for small prints, slides, negatives, and anything you might want to enlarge later. Save a high-quality master file for each image and make separate, smaller copies for sharing or printing. Don't retouch the master — crop and color-correct the sharing copy instead, so you always have the original scan to fall back on.
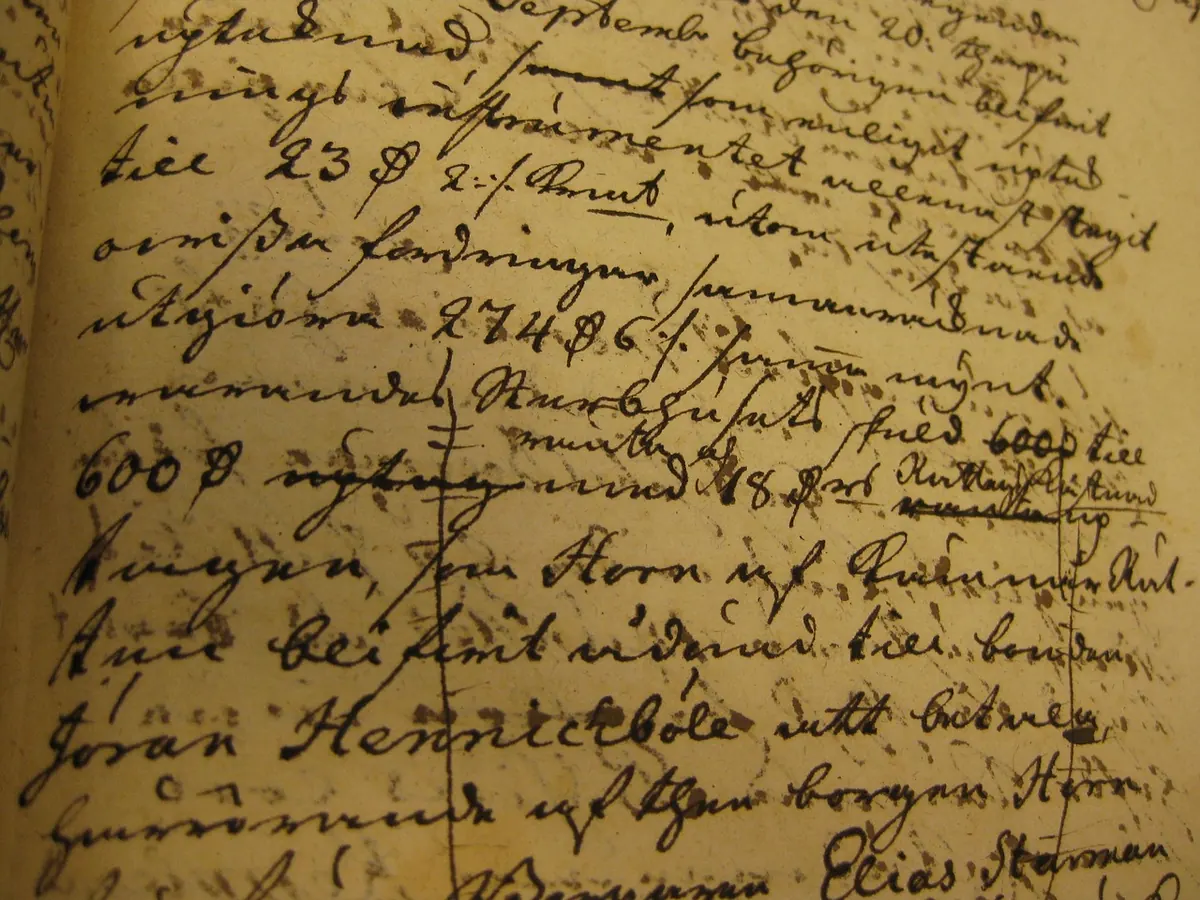
Scan the backs of photos that have notes, dates, or names. That writing is often the only surviving evidence of who is who, and it's worth an extra pass through the scanner.
Name Files So Future You Can Find Them
The convention matters less than the consistency. Pick one pattern and use it for every file:
YYYY-MM-DD_Lastname-Firstname_Place_Event_001.jpg
Putting the date first makes files sort chronologically on any computer, which is the whole point. When the exact date is unknown, use an estimate such as 1958-approx or 1960s and note it as approximate in your index. Avoid slashes, colons, and question marks in filenames, and keep names under about sixty characters so they don't get truncated when you move them between systems.
Write your naming rules in a plain text file and keep it in the same folder as the photos. If a cousin inherits the archive someday, they'll need to know that BW means black and white and port means portrait.
Label the Stories, Not Just the Names
Names alone go stale fast. A file called 1964_Aunt-Rose_Garden_001.jpg is useful. A note saying "Rose in her backyard the summer she grew the giant tomatoes, before the move to Ohio" is a family history.
Record that information somewhere durable. You can use your photo software's caption or description field, or keep a simple spreadsheet with one row per file. Include who is in the picture, where it was taken, when, the occasion, and any story attached. Note who identified the people and when — future readers will want to know how reliable the label is.
For physical photos, write lightly in soft pencil on the back, near an edge, and never press hard enough to emboss the front. Skip ballpoint and marker, which can bleed or transfer over time. Photo-safe labels work well for prints you'd rather not write on directly.
Back Everything Up Before You Put It Away
A single folder on a laptop is not a backup. Use the long-standing three-copy approach: the working copy on your computer, one copy on an external drive kept at home, and one copy somewhere else — cloud storage or an external drive at a relative's house.
Then do the boring part: check it. Plug in the external drive once a year and open a few files at random. Replace drives that are more than a few years old or that start clicking or running slowly. Keep anything irreplaceable out of attics, basements, and garages, where heat, damp, and pests do their work quietly.
Sharing a copy with a sibling or cousin doubles as a backup and a second set of eyes on your identification. Two people remembering a face is better than one.
Turn It Into a Twenty-Minute Habit
The archives that survive aren't the ones assembled in one heroic weekend. They're the ones where someone kept a labeled box in a visible spot and did a small batch now and then. One folder, one decade, one family gathering at a time is plenty.
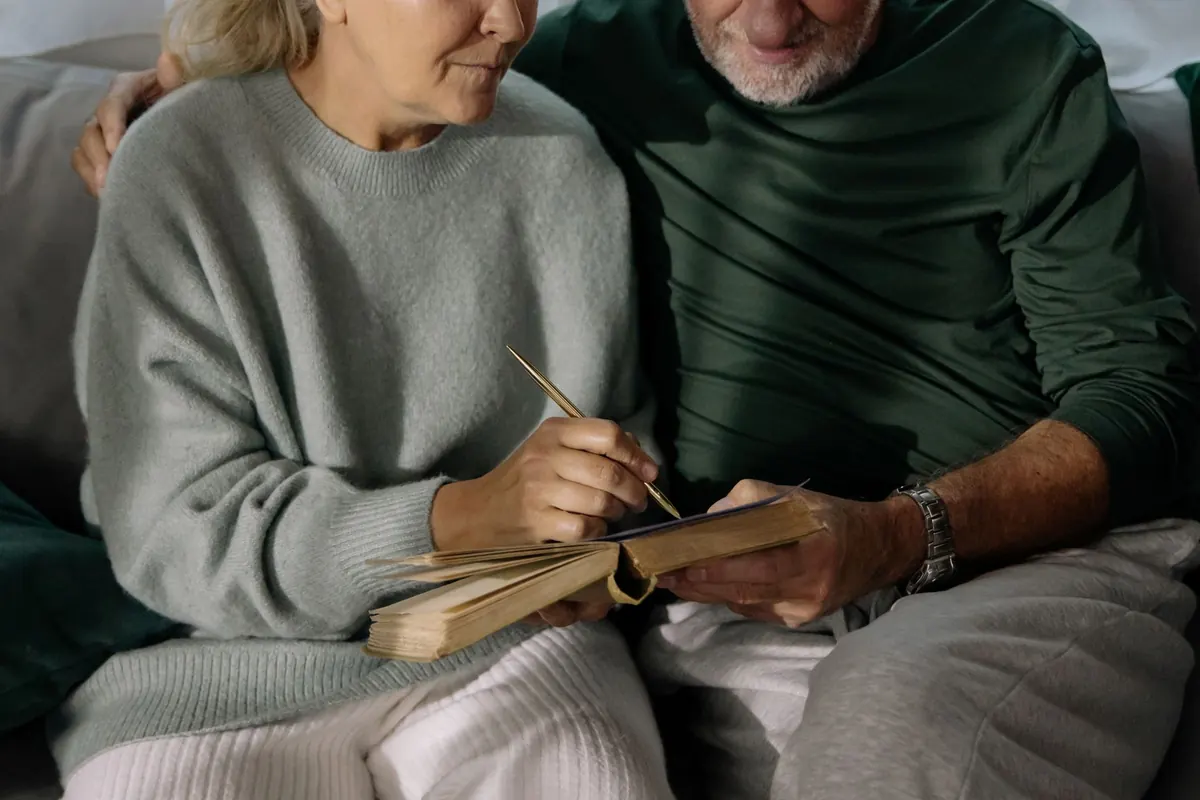
Involve the family while the people who remember are still around. Kids can sort and stack; grandparents can name faces and tell the stories behind them, which is the part no scanner can capture. When a batch is done, print two or three favorites and put them on the fridge. The point of all this sorting and labeling isn't a perfect archive — it's an archive someone can actually open, understand, and enjoy years from now.
Photo: Jakub Zerdzicki / Pexels